
When the power button on your Beats Solo 3 headphones is not functioning, this can be so frustrating. These are high-quality wireless headphones that offer durability and, most importantly, sound quality, but as with all electronic equipment, they are susceptible to problems over time.
The users have claimed in 2025 that the power button is not always functional because of wear and tear, software glitches, or battery issues. The initial step to correcting this is knowing why it occurs so as to fix it effectively.
1. Common Causes Behind the Power Button Malfunction
Several factors can cause the power button on your Beats Solo 3 to stop working:
- Battery Issues – If the battery is completely drained or damaged, the power button may become unresponsive.
- Software Glitches – Firmware updates or connectivity problems with your device can prevent the headphones from powering on.
- Physical Damage – Dropping the headphones or exposure to moisture can damage internal circuits or the button mechanism itself.
- Dirt and Debris – Over time, dust or debris can accumulate around the button, blocking proper contact.
- Wear and Tear – Frequent usage over several years can naturally reduce the button’s responsiveness.
Identifying the underlying cause is crucial because it determines whether a simple reset or professional repair is needed.
2. Step-by-Step Troubleshooting Guide to Resolve the Issue
If your Beats Solo 3 power button isn’t responding, follow these steps to diagnose and potentially fix the problem:
1. Perform a Hard Reset
A hard reset can resolve many software-related issues:
- Ensure your headphones are charged.
- Press and hold the power button and the volume down (-) button simultaneously for 10 seconds.
- Release the buttons when the Fuel Gauge lights (located below the power button) flash.
- Attempt to power on your headphones.
This method has been effective for many users experiencing power button issues.
2. Charge Your Headphones
A completely drained battery can cause the power button to be unresponsive:
- Connect your headphones to a charger.
- Wait for at least 2 hours to ensure a full charge.
- Attempt to power on your headphones.
If the headphones power on after charging, the issue was likely due to a drained battery.
3. Inspect for Physical Damage
Physical damage can impede the functionality of the power button:
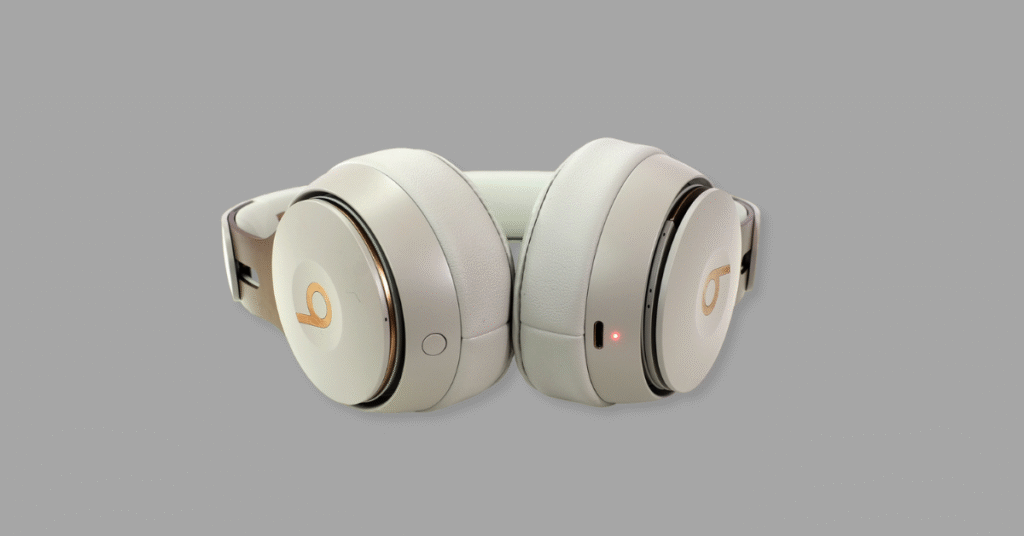
- Examine the power button for any visible signs of damage or obstruction.
- Check for any debris or dirt around the button that might be causing interference.
- Ensure the headphone casing is intact and hasn’t been compromised.
If you notice any physical damage, professional repair or replacement may be necessary.
4. Reset the Battery Connector
In some cases, resetting the battery connector can resolve power issues:
- Power off your headphones.
- Open the right ear cup to access the battery compartment.
- Disconnect and then reconnect the battery connector.
- Reassemble the ear cup and attempt to power on your headphones.
This method has been reported to fix power issues in certain cases.
5. Update Firmware
Outdated Firmware can cause functionality issues:
- Connect your headphones to a device with the Beats Updater application installed.
- Check for any available firmware updates.
- Follow the on-screen instructions to update your headphones.
Updating the Firmware can resolve bugs and improve performance.
6. Contact Apple Support
If the above steps don’t resolve the issue, it’s advisable to seek professional assistance:
- Visit the Apple Support website to schedule a repair or replacement.
- Provide details about the issue and any troubleshooting steps you’ve already taken.
Apple’s support team can offer guidance and solutions tailored to your situation.
3. When to Seek Professional Repair or Replacement
If you’ve attempted the troubleshooting steps and your Beats Solo 3 headphones still aren’t functioning properly, consider professional repair or replacement. Here are some scenarios where professional assistance is recommended:
1. Persistent Power Button Failure
If the power button remains unresponsive despite performing a hard reset and ensuring the battery is charged, the issue may be due to an internal hardware failure. In such cases, it’s advisable to contact Apple Support or visit an authorized service center for further diagnosis and repair.
2. Warranty Coverage
If your Beats Solo 3 headphones are still under warranty, Apple may offer free repair or replacement services. It’s worth checking the warranty status and reaching out to Apple Support for assistance.
3. Comfort with DIY Repairs
If you’re not comfortable performing DIY repairs or the necessary tools and parts are not readily available, seeking professional help ensures that the repair is done correctly and safely.
4. Cost-Effectiveness
Sometimes, the cost of repairing the headphones may approach or exceed the cost of purchasing a new pair. Replacing the headphones might be a more economical option.
To initiate a repair or replacement, visit the Apple Support website or contact an authorized service provider.
4. Preventive Measures to Avoid Future Power Button Problems
To prolong the lifespan of your Beats Solo 3 headphones and prevent future power button issues, consider the following preventive measures:
1. Regular Cleaning
Dust and debris can accumulate around the power button, leading to a malfunction. Regularly clean the area using a soft, dry cloth to remove any particles.
2. Proper Storage
When not in use, store your headphones in a protective case to prevent physical damage and exposure to moisture.
3. Avoid Overcharging
Overcharging can degrade the battery over time. Disconnect the headphones from the charger once they reach full charge.
4. Firmware Updates
Keep your headphones’ Firmware up to date to ensure optimal performance and to fix any known bugs.
5. Handle with Care
Avoid dropping or subjecting your headphones to physical shocks, as this can damage internal components.
By following these preventive measures, you can help ensure the longevity and reliable performance of your Beats Solo 3 headphones.
Conclusion
The Beats Solo 3 is a high-quality set of wireless headphones, and when faced with a problem with the power button, it can be exasperating. Battery problems, software malfunctions, physical damage or natural wear and tear are the root cause of most problems.
With the above troubleshooting steps, a hard reset, charging the battery, inspecting, and updating the Firmware should be followed; it is possible to fix the problem most of the time without the assistance of a professional.
Nevertheless, in case of the problem continuing, it is possible to contact Apple Support and come to the certified service center, which would ensure the safety and efficiency of the repair.
Also, introducing precautionary steps such as regular cleaning, proper storage, handling, and updating Firmware can dramatically increase the lifespan of your headphones.
With the right knowledge, excellent response time, and adequate care for your Beats Solo 3, you will be able to enjoy a good quality audio performance over the years.
FAQs
Q1: What to do if my Beats Solo 3 won’t turn on?
A: Ensure the headphones are charged, perform a hard reset by holding the power and volume down buttons for 10 seconds, and check for firmware updates.
Q2: Is there another way to turn on the Beats Solo 3?
A: The primary method is using the power button; if unresponsive, a hard reset or connecting to a charger may help.
Q3: What do I do if my Beats Solo 3 won’t turn off?
A: Perform a hard reset by holding the power and volume down buttons simultaneously for 10 seconds to force a shutdown.
Q4: How to restart Beats Solo 3?
A: Turn off the headphones using the power button or hard reset, then press the power button again to turn them back on.